 |
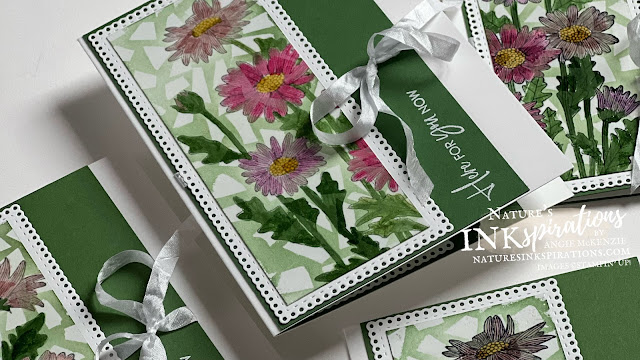
| Daisy Garden with the Emboss Resist Mosaic Background |
Hello and happy February! I'm so glad that you're here and hope you are having a wonderful day! Today I am hopping with some of my talented stamping friends from around the world who love creating with Stampin' Up!® products as much as I do! We love hopping on the second weekends of the month - Saturday or Sunday depending on where you are in the world - and love sharing lots of inspiration with you. There are several of us hopping today - you will find the list to follow along towards the bottom of my blog post - so sit back and relax with your favorite cuppa as you peruse the hop.
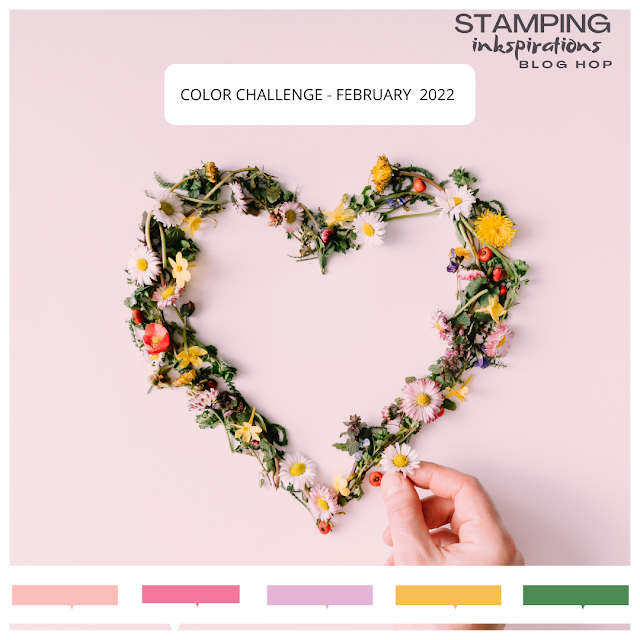
This month we are sharing projects based on our first Color Challenge! I am sure that you will find lots of different interpretations and inspiration from this color palette.
Today's Project
Daisies make me smile... what about you?!? In fact, I love daisies though they are one of the flowers that bring my sinuses to full attention. Sometimes a girl just has to ignore such. Today's Color Challenge to use at least any combination of three (3) of the colors was fun as I opted to go full out and use them all.
Project Details
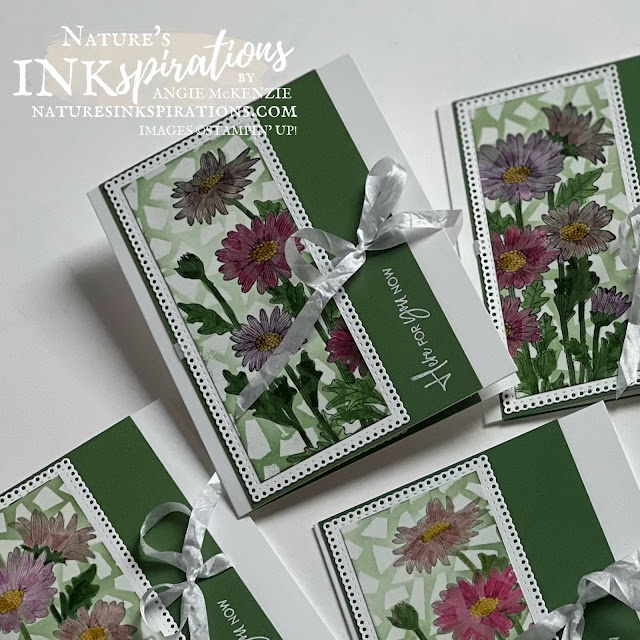
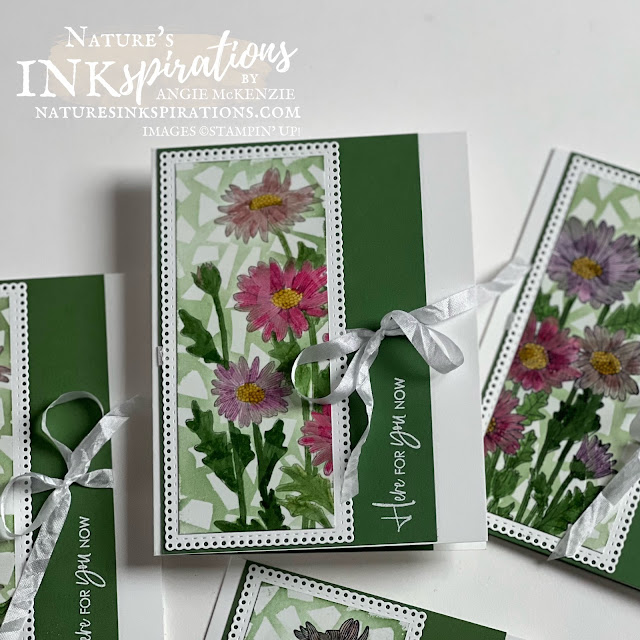
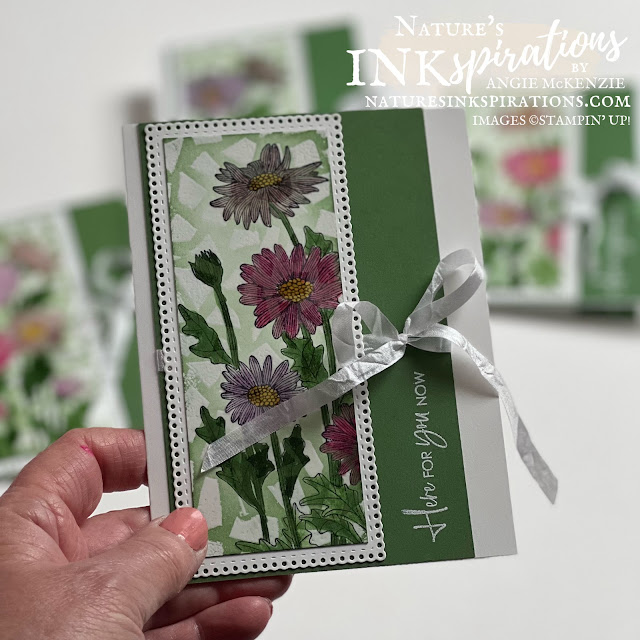
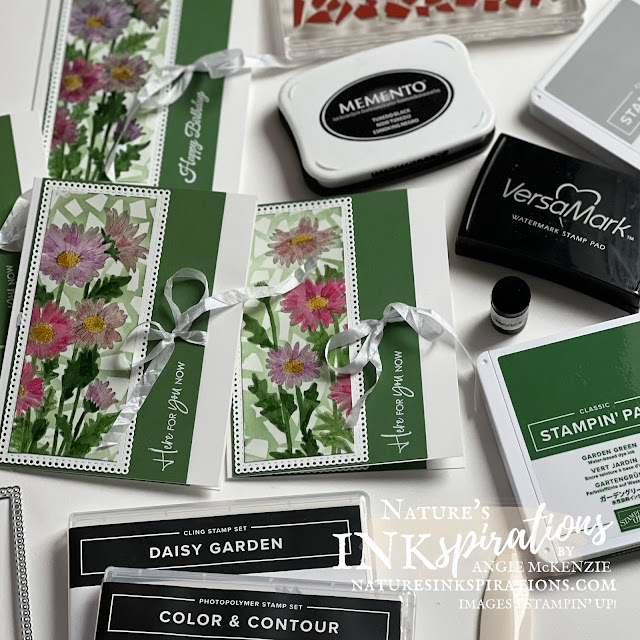
On Wednesday, I shared the fun of creating my first Mosaic Emboss Resist Background (click here for more details). Today's project expands it more and is actually my favorite. The Daisy Garden background stamp was stamped with the Stamparatus onto Basic White Cardstock... once with Tuxedo Black Memento Ink and a second time with Smoky Slate.
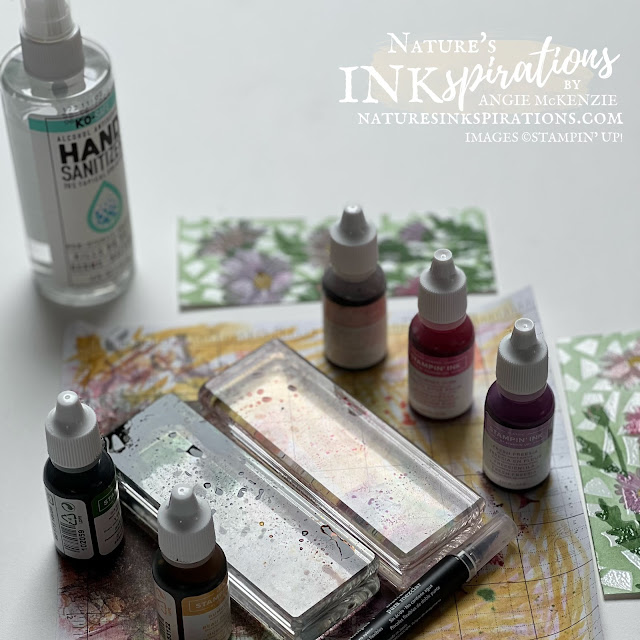
The images were colored with the Faux Alcohol Marker Technique (ink refills, hand sanitizer spray and a Blender Pen)... Stampin' Blends for Fresh Freesia and Polished Pink could have been used along with blending two the greens (Granny Apple Green and Mossy Meadow) but I opted to keep the same look for all.
The handmade red rubber mosaic background stamp was inked with VersaMark and the trimmed layers were applied to the stamp and heat embossed with Clear Stampin' Emboss Powder. The clear embossed colored layers were sponged with a sponge dauber and Garden Green ink. A Microfiber cloth (any type of soft cloth or tissue will suffice) was used to wipe away any access ink across the embossing.
The images were trimmed down to fit inside the Basic White Ornate Layers die cut. The Color & Contour sentiment was heat embossed with White Stampin' Emboss Powder onto a Garden Green cardstock layer.
White Crinkled Seam Binding Ribbon was wrapped around the embossed Garden Green layer before being applied with Multipurpose Liquid Glue to the Thick Basic White card base.
The insides were layered and embossed to compliment the card fronts leaving plenty of room to stamp any additional sentiments and to write a little note. The envelopes will be stamped with the daisies prior to mailing.
More Inspiration
I hope that you have enjoyed the inspiration from this color challenge and will use it yourself to create some cards for friends and family. Up next on the blog hop is Leonie where you can continue along to see what she and all the others have created. I am sure you will be filled with lots of inspiration! And should you be inspired, please leave us a comment... we love to hear from you.
Angie McKenzie ● Leonie Stuart ● Aurélie Fabre
Rachael Merrick ● Jan Musselman ● Jo Blackman
Karen Egan ● Mo Rootes ● Robbie Susan Chandler
Danielle Kassing ● Gez Carpenter ● Ann Krucek
Annette Ball ● Susan Webster ● Karen Henderson
Elaine de Montmorency ● Chris Smith ● Tricia Butts
Teri West ● Linda Moore ● Marieke Bart
Vickie Littlewood ● Jill Chapman ● Susan Simpson
Terry Hamilton ● Cheryl Hamilton ● Sharon Hashimoto Burkert
You Can Make These Cards!
Here's What You'll Need to Get Started...
BASICS
- Clear Blocks G, H; Stamparatus; Small Grid Paper; Paper Trimmer; Stampin' Cut & Emboss Machine; Heat Tool; Paper Snips; Multipurpose Liquid Adhesive; Bone Folder; Sponge Daubers; Clear Stampin' Emboss Powder
- Clear Blocks G, H; Stamparatus; Small Grid Paper; Paper Trimmer; Stampin' Cut & Emboss Machine; Heat Tool; Paper Snips; Multipurpose Liquid Adhesive; Bone Folder; Sponge Daubers; Clear Stampin' Emboss Powder
STAMPS
- Daisy Garden Cling Background Stamp Set; Color & Contour Photopolymer Stamp Set; Calming Camellia Sale-A-Bration Host Stamp Set (available for free with a qualifying host order during Sale-A-Bration)
- Daisy Garden Cling Background Stamp Set; Color & Contour Photopolymer Stamp Set; Calming Camellia Sale-A-Bration Host Stamp Set (available for free with a qualifying host order during Sale-A-Bration)
INK
- Smoky Slate Classic Stampin' Pad; Tuxedo Black Memento Ink Pad; VersaMark Pad; Blushing Bride, Polished Pink, Fresh Freesia, Bumblebee and Garden Green Classic Stampin' Ink Refills
- Smoky Slate Classic Stampin' Pad; Tuxedo Black Memento Ink Pad; VersaMark Pad; Blushing Bride, Polished Pink, Fresh Freesia, Bumblebee and Garden Green Classic Stampin' Ink Refills
PAPER
- Garden Green, Basis White and Thick Basic White Cardstocks; Basic White Medium Envelopes
- Garden Green, Basis White and Thick Basic White Cardstocks; Basic White Medium Envelopes
OTHER
- Basics Embossing Powders; Ornate Layers Dies; White Crinkled Seam Binding Ribbon
- Basics Embossing Powders; Ornate Layers Dies; White Crinkled Seam Binding Ribbon
You can purchase any of these supplies from my online store if you live in the USA and do not already have a Stampin' Up!® demonstrator.
Time to Use Your Paper Trimmer!
PAPER CUTS
- Basic White - 4-1/4" x 5-1/2" (for stamping); 5-1/2" x 8-1/2" (for diecutting)
- Thick Basic White - 8-1/2" x 5-1/2" scored at 4-1/4" (card base)
- Garden Green - 3-1/2" x 5-1/2" (x2) (per card)
- Basic White - 4-1/4" x 5-1/2" (for stamping); 5-1/2" x 8-1/2" (for diecutting)
- Thick Basic White - 8-1/2" x 5-1/2" scored at 4-1/4" (card base)
- Garden Green - 3-1/2" x 5-1/2" (x2) (per card)





Gorgeous card Angie!
ReplyDeleteThis is Stunning Angie. Such a great Idea to create the mosaic - will definitely have to try that out. Xx
ReplyDeleteOh, oh, oh.... I love it! So many techniques and unique ways to use our papers, rubber, and ink! Thank you I am inspired.
ReplyDeleteOh, Angie! Your card is beautiful and love the mosaic background!
ReplyDeleteSo, so pretty - I love the green and that background.
ReplyDeleteTotally awesome cards, Angie! Love how you created the mosaic stamp & your DIY alcohol coloring. Thanks for sharing!💕
ReplyDeleteWow, they look fabulous xx
ReplyDeleteThis is gorgeous, Angie. I remember watching Diane's video awhile back and thinking that the technique was too much for me to handle. You have inspired me, TFS.
ReplyDeleteWhat beautiful, inspiring cards, Angie! I just received this stamp and now I can't wait to use it.
ReplyDeleteWhat a fantastic card Angie and such a great technique, love it x
ReplyDeleteWhat a fun idea to create your own mosaic!! Stunning card, Angie!
ReplyDeleteSo pretty. Love your mosaic technique. It adds wonderful texture to your design.
ReplyDeleteOh my....! It is fabulous ! I love this technique! And in addition, it allows you to throw less rubber! Oh that's really all I love and the effect is wonderful! I so want to try this, I'm going to dig in my trash! Well done Angie!
ReplyDeleteBeautiful. I love that you also did the inside of the card! Outstanding!
ReplyDeleteBeautiful! Fun technique using your handcrafted mosaic stamp. You have made some lovely cards using this daisy background stamp.
ReplyDeleteLove the mosaic!! Such a great idea. I like the deep rich colors you used that contrasts with the white so beautifully!!
ReplyDeleteI love the mosaic effect. It's such an elegant card with beautiful rich colours.
ReplyDeleteWow what a beautiful set of cards. I remember making one of those mosaic stamps, mmmm I wonder what I did with it, thanks for sharing x
ReplyDelete