 |
| A favorite technique of mine is COLORING! |
Today's Project
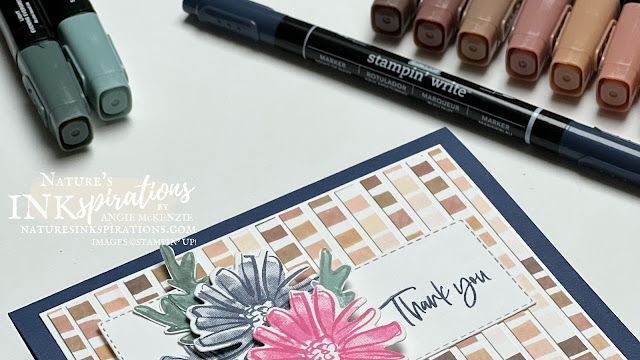
A favorite technique of mine is coloring ! I have always loved to color since childhood so I had fun coloring with Blends and a Stampin' Write Marker today.
Project Details
There's nothing like getting creative with drawing freehand lines... especially when you have some new colors of markers to play with!
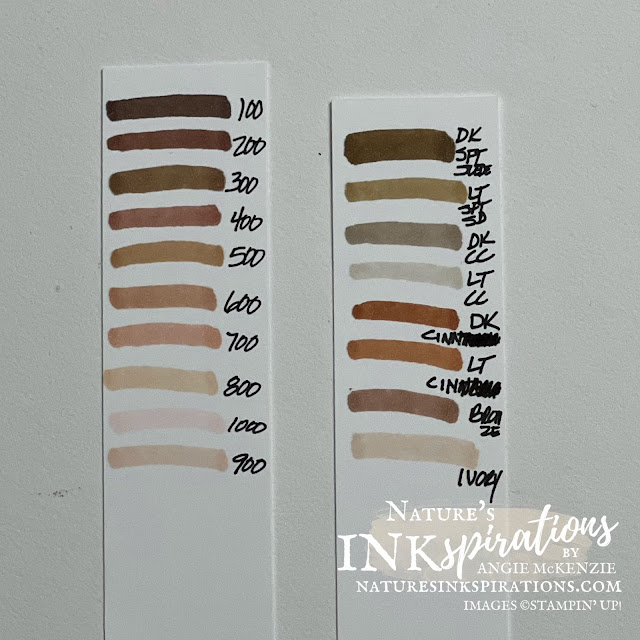
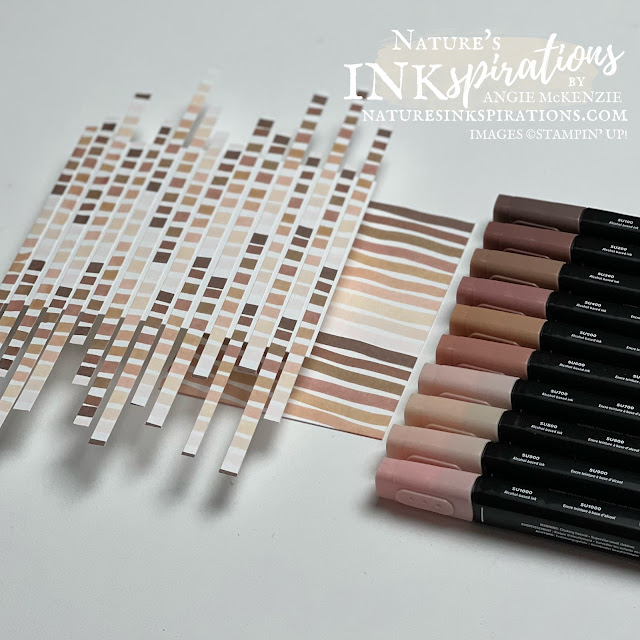
Whenever I have several colors to play with, I make color strips of the colors so I know which colors I want to use where. For today's project, I also wanted to compare the new colors to some older colors to see if I wanted to mix the groupings. I opted to stick with the new Natural Tones for today's project though I was very tempted to mix them, but will be for another day!
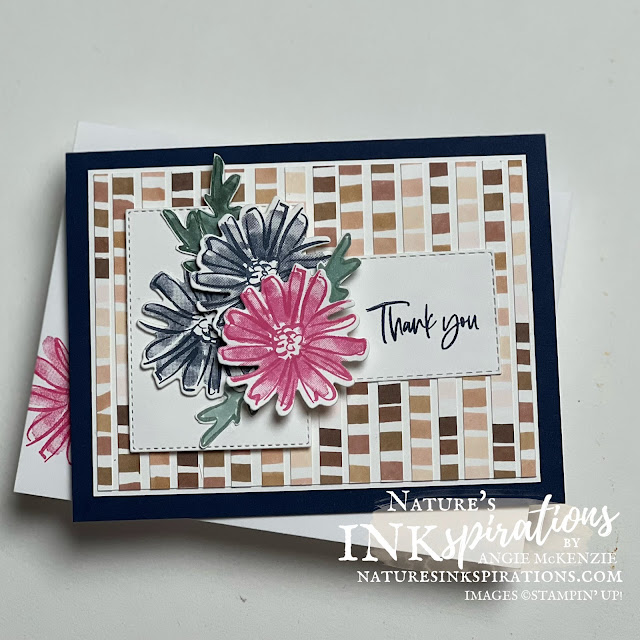
The background was colored with the Natural Tones Stampin' Blends Collection by drawing stripes across a 4" x 11" piece of Basic White Cardstock. The stripes were created with the brush tips of the Blends and repeated using the entire collection four times down the cardstock. The cardstock was then trimmed to the length of the third section setting aside a full section for reserve.
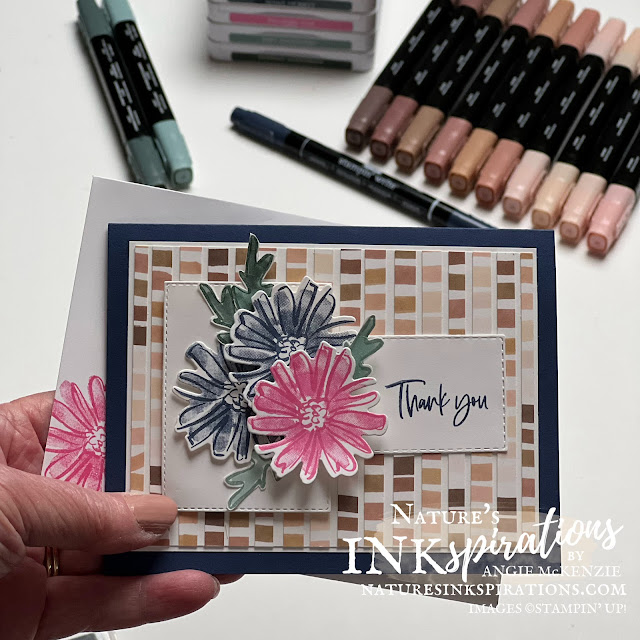
The striped cardstock was trimmed to 1/4" strips which were adhered along a 5" x 3-3/4" Basic White cardstock layer. Once complete, the overhanging edges were trimmed off. Next the panel was trimmed to center the rows which worked out to trimming the layer to 4-7/8" x 3-5/8".
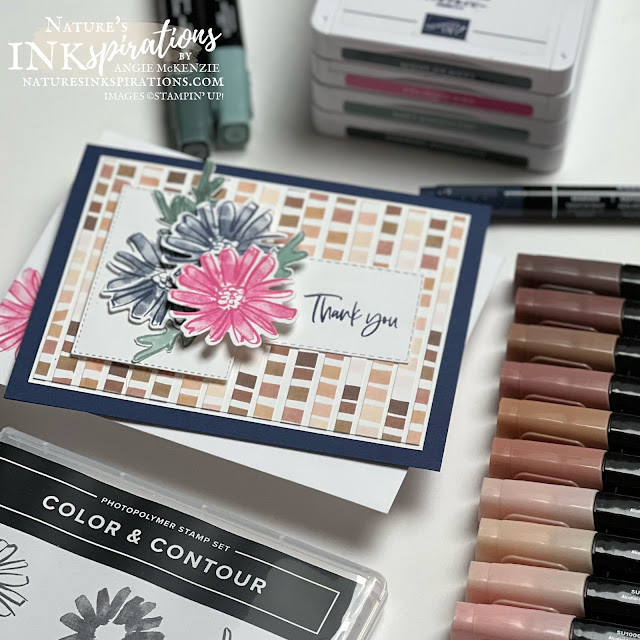
The flowers were stamped in Night of Navy and Polished Pink Inks onto Basic White cardstock using the 2-Step Technique, die-cut with the coordinating die and adhered to some stitched rectangles from remnants of another project. The Evening Evergreen and Soft Succulent leaves were colored with the coordinating light shades of Stampin' Blends and fussy cut before adhering with Stampin' Dimensionals and Multipurpose Liquid Glue. The sentiment was colored with the Night of Navy Stampin' Write Marker to stamp the partial sentiment.
I hope that today's project has inspired you to create your own backgrounds by coloring with some Stampin' Blends Markers.




What a fascinating way to make a background, Angie! I confess I'll have to read it more carefully to fully comprehend how you did it, but it looks terrific! Your flowers are very effective on top of it! Thanks for sharing your favourite technique with us at As You See It Challenges!
ReplyDeleteSo pretty, Angie - and I am so intrigued by that background! Great way to make that tool even more useful, lol. Thanks so much for playing at As You See It!
ReplyDeleteAngie, I just LOVE the background you've made - and that's before I get to that exquisite bunch of flowers! I have those markers unopened by my desk and you've inspired me to get them out and try this technique when I next have a chance. Thank you so much for joining in with us at As You See it Challenge.
ReplyDeleteThis is so creative Angie - what a great way to create an interesting background with markers! I'm a big fan of colouring too. Your Blends make a great neutral background for those pretty flowers - I love it! Thanks for sharing with us over at As You See It this week!
ReplyDelete