 |
| Flowers of Friendship Bundle (comes with the Flowers & Leaves Punch!) |
Happy Tuesday, y'all! I'm so glad that you're here and hope you are having a terrific day! Today I am hopping with some crafty collaborators along the Technique Tuesday Blog Hop as we share lots of inspiration for using punches. I will be using the Flowers & Leaves Punch included with the Flowers of Friendship Bundle to create a wreath card. There are several of us hopping today - you will find the list to follow along towards the bottom of my blog post - so sit back and enjoy your favorite coffee, tea, water, or smoothie as we share some handmade projects with you!
Today's Project
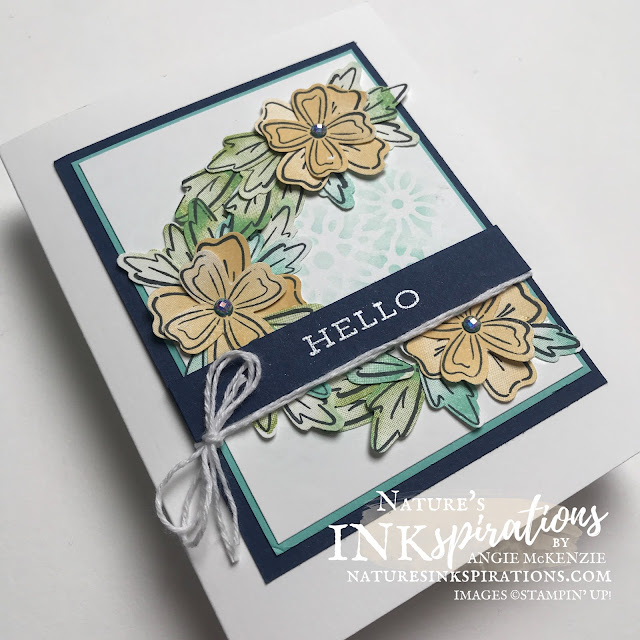
How many times have you wanted to create a wreath card, but don't have a Stampin' Cut & Emboss Machine or don't want to fussy cut? Using punches can help you with that!
 |
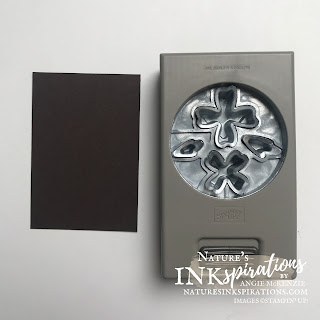
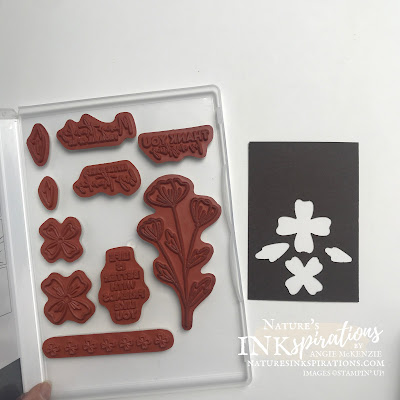
| These two simple pieces started the process! |
It only takes a little time, a few stamps and you are on your way to creating multiples once you have your system set up. So enjoy the tips and see what you can create with this amazing Flowers & Leaves Punch!
Project Details
Create a jig for your punch and the rest of the cardmaking process is so much easier! You can store your punch jig in your stamp case for easy keeping so it's always there when you need it.
Stamp the Flowers of Friendship images with Tuxedo Black Memento ink onto 3/4" and 1-1/2" strips of Basic White cardstock. Use the large rectangle Watercolor Shapes image to color your flower petals with So Saffron ink. Use the small square Watercolor Shapes image to color your leaves with Granny Apple Green and Coastal Cabana inks. Punch the colored, stamped images out with the Flowers & Leaves Punch.
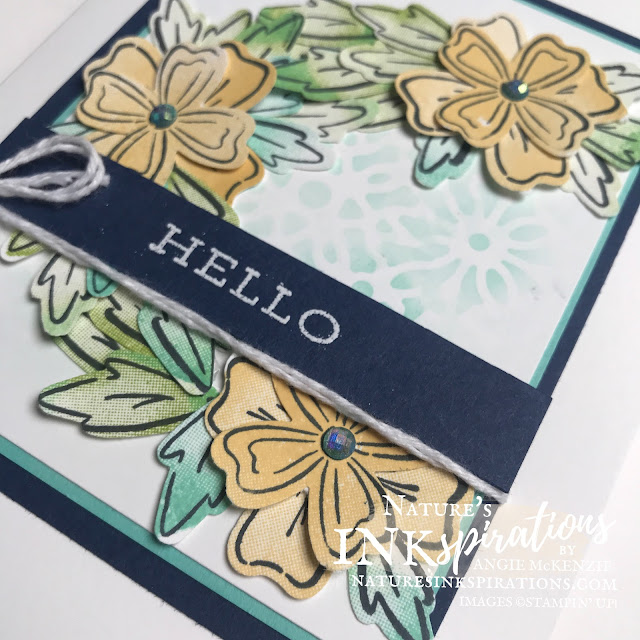
Create a soft subtle background on the Basic White card layer with the Vellum Square Doilies and a Blending Brush with some Coastal Cabana ink. Arrange the punched out images as you like layering up as much as you wish. Adhere with Multipurpose Liquid Glue and Mini Glue Dots. Adhere to Coastal Cabana and Night of Navy card layers. Wrap two pieces of White Baker's Twine around the layers and tie off with a bow.
White heat embossed the Forever Fern sentiment on a strip of Night of Navy cardstock and adhere to the card panels. Adhere all panels to the Basic White Thick card base. Embellish the flower centers with Blue Adhesive Backed Gems.
More Inspiration
You Can Make This!
What You'll Need to Get Started...
BASICS
BASICS
- Paper Trimmer, Stamparatur, Small Grid Paper, Heat Tool, Clear Blocks, Blending Brushes
STAMPS
- Flowers of Friendship Cling Stamp Set (included in the Flowers of Friendship Bundle with the Flowers & Leaves Punch), Watercolor Shapes Photopolymer Stamp Set, Forever Fern Cling Stamp Set
INK
- Coastal Cabana, Granny Apple Green and So Saffron Classic Stampin' Pads; Tuxedo Black Memento Ink Pad; VersaMark Ink
PAPER
- Basic White Thick, Basic White, Coastal Cabana, and Night of Navy Cardstocks; Basic White Medium Envelopes
OTHER
- Flowers & Leaves Punch (included in the Flowers of Friendship Bundle), Blue Adhesive-Backed Gems, Square Vellum Doilies, Baker's Twine Essentials Pack, Basics Embossing Powders
You can purchase any of these supplies from my online store if you live in the USA and do not already have a Stampin' Up!® demonstrator.
Time to Use Your Paper Trimmer!
PAPER CUTS
- Basic White Thick - 5-1/2" x 8-1/2" scored at 4-1/4" (card base)
- Basic White - 3" x 4" (x2), scraps/strips (for stamping and punching)
- Coastal Cabana - 3-1/8" x 4-1/8" (x2)
- Night of Navy - 3-3/8" x 4-3/8" (x2), 3-3/8" x 1/2", 2-1/2" x 3/4"


Great card and instructions. Thanks for Sharing.
ReplyDeleteLove this technique! makes it so much easier!
ReplyDeleteStunning card
ReplyDeleteVery pretty card x
ReplyDelete