Happy Tuesday, y'all! I'm so glad that you're here and hope you are having a terrific day! Today I am hopping with some crafty collaborators along the Technique Tuesday Blog Hop and we are share lots of inspiration for using your Stamparatus. There are several of us hopping today - you will find the list to follow along towards the bottom of my blog post - so sit back and enjoy your favorite coffee, tea, water, or smoothie as we share some handmade projects with you!
Today's Project
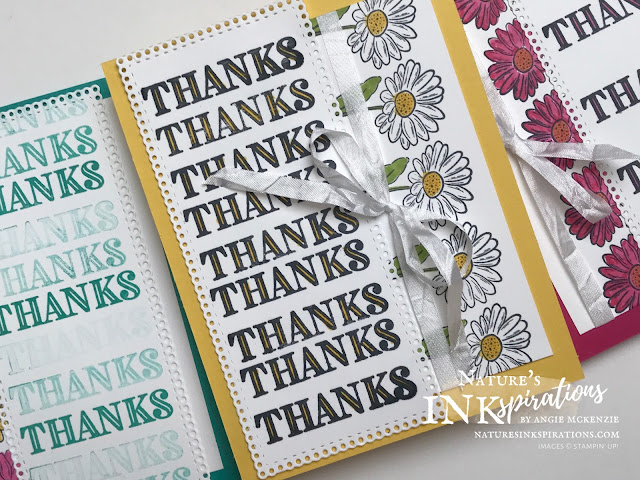
I love making multiple cards... and multiple designs using the same layouts and/or stamps. The Stamparatus makes it so easy to do this!
Project Details
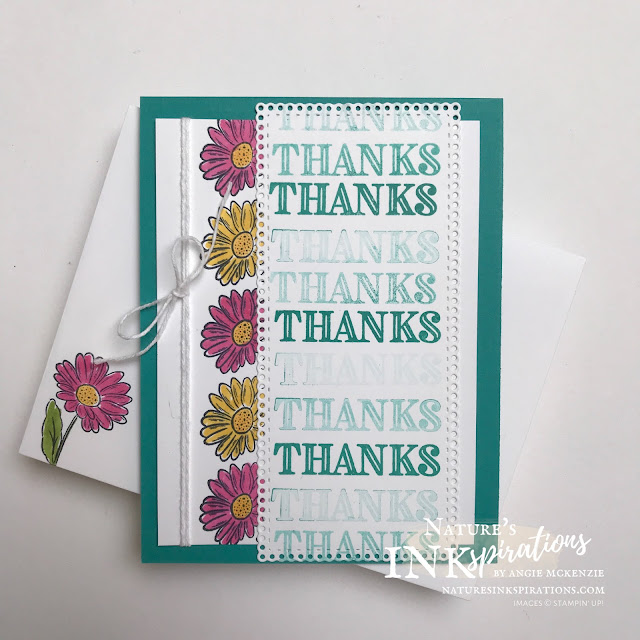
Hinge stamping is the technique that I have used today for both the sentiment and the card front layer featuring the retiring Ornate Style Cling Stamp Set. I am going this stamp set that is part of the Ornate Garden Suite so much! Thank goodness the dies and the other stamp set from this Suite are being carried over to the new 2021-2022 Annual Catalog!
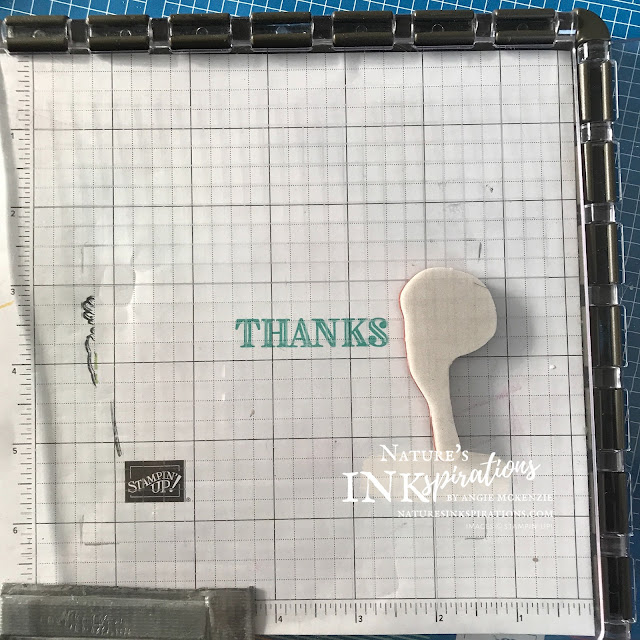
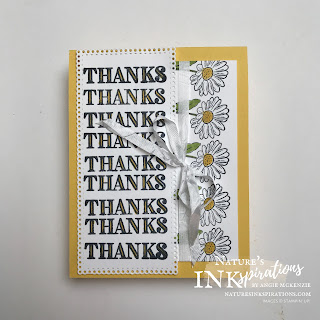
Lining up the stamps and the placement of the cardstock layers are easy when doing multiples as you mark the corners of the layer(s). The hinges basically move approximately one inch per hinge so there are quite a few images that will work amazingly with this technique. The floral stamp can easily create five images across a 3-3/4" x 5" card layer. Keeping the images in odd numbered increments helps with the design balance.
The placement of the sentiment was a more challenging layer for me as I did the hinge stamping three different ways to show some different ideas. The Bermuda Bay card showcases Generation Stamping using the Stamparatus. This took the longest to create as the image was inked with Bermuda Bay and then stamped on a Basic White card layer. The plate was moved down one hinge and the image was stamped a second time. Next the Basic White card layer was moved up two squares on the grid paper and then the image of stamped a third time. This was repeated several more times until the card layer was completely stamped. After the stamping was done, then the images were die cut.
For the remaining two sentiment panels, the stamping was done directly on the diecut panel while using Memento ink. The panel for the Melon Mambo card was done with moving the plate down one hinge at a time as seen in the photo below. The panel for the Daffodil Delight card was done the same, but repeated a second time after moving the die cut down two squares on the grid paper (same as the Bermuda Bay stamping). With this second step, you could flip the plate over and add a second or even multiple ones to fit between the stamped images! I didn't do it this time as I was being too indecisive as to which one of the lovely script font images to use as different ones would be for different recipients... so I kept the same sentiment for simplicity's sake to keep it more generic for anytime recipient.
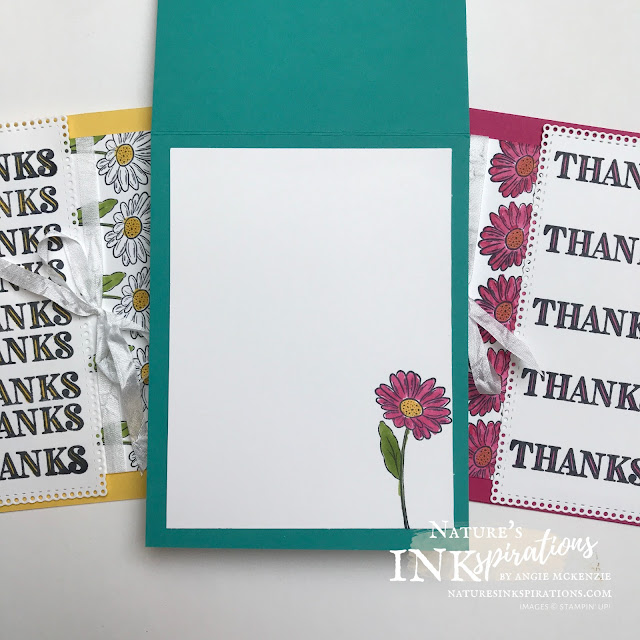
The Stamparatus was also used for stamping the inside panels for the cards along with the envelope fronts and flaps! Definitely a time saver for creating multiples!


There are so many wonderful ways for using this amazing, must have tool! The possibilities for creating are endless!
What You'll Need to Make This Project
BASIC SUPPLIES:
- Paper Trimmer
- Multipurpose Liquid Glue
- Small Grid Paper
- Bone Folder
- Mini Stampin' Cut & Emboss Machine
- Stamparatus
STAMPS:
- Ornate Style Cling Stamp Set (save 10% when you purchase the Ornate Style Bundle)
- Ornate Thanks Cling Stamp Set (save 10% when you purchase the Ornate Thanks Bundle)
INK:
- Tuxedo Black Memento Ink Pad
- Bermuda Bay Classic Stampin' Pad
- Daffodil Delight Stampin' Blends Combo Pack
- Granny Apple Green Stampin' Blends Combo Pack
- Mango Melody Stampin' Blends Combo Pack
- Melon Mambo Stampin' Blends Combo Pack
PAPER:
- Basic White cardstock
- Bermuda Bay cardstock
- Melon Mambo cardstock
- Daffodil Delight cardstock
- Basic White Medium envelope
OTHER:
- Ornate Layers Dies (included in the Ornate Style Bundle)
- Snail Mail Twine Combo Pack
- Whisper White Crinkled Seam Binding Ribbon
You can purchase any of these supplies from my online store if you do not have a Stampin' Up!® demonstrator. Order the Ornate Garden Suite to purchase both bundles along with coordinating DSP and ribbon through May 3, 2021, while supplies last. The Ornate Thanks Stamp Set and the Ornate Layers Dies are being carried over to the new 2021-2022 Annual Catalog!







Great card. Thanks for sharing
ReplyDeleteFantastic cards and a really great tutorial, thank you for sharing this.
ReplyDeleteI love the flowers going down the side.
ReplyDeleteBeautiful Cards!
ReplyDeleteSuch fun cards!
ReplyDeleteLove these cards Angie :-)
ReplyDeleteFabulous Cards x
ReplyDeleteAwesome technique
ReplyDelete