Welcome to another edition of the Global Creative INKspirations Blog Hop! You are either starting here or coming from Danielle's blog. We hope that you are enjoying these monthly creative posts as much as we enjoy sharing this time with you! This month we are focusing on Easter!
The world has changed drastically since our last hop together. So I pray that today's card will make you smile wherever you may be at the moment... Easter is such a wonderful time of year as it represents rebirth and hope in so many ways. So sit back and enjoy this little hop with us when you get a chance!
The inside is fun to create!
On the scored side, make two small cuts of equal length.
Fold the section towards you and press down to score.
Color the background as you wish! I chose to make it a field of flowers with the sky in an oval backdrop resembling an egg... or the entrance to the tomb when the stone was rolled away.
Stamp the cross in Granny Apple Green onto scrap paper and then the card base.
Stamp the sentiment in Gray Granite.
Adhere the bunny with liquid glue allowing for wiggle room.
I cannot get enough of this little bunny from Welcome Easter! He reminds me so much of Thumper from Bambi! I just grin ear to ear whenever I think of him... especially when he's hopping around and thumping that little long foot of his!
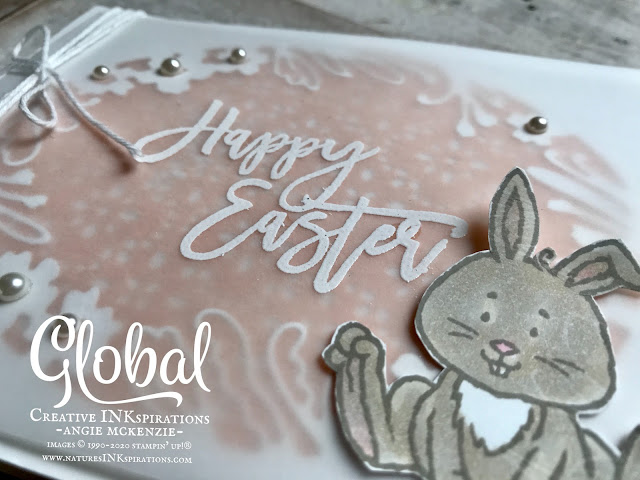
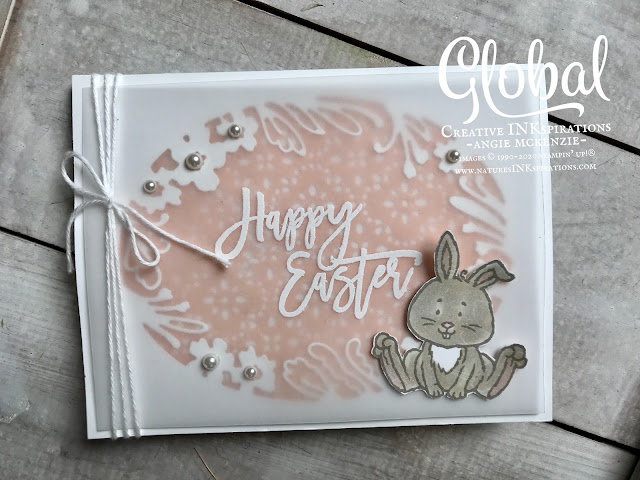
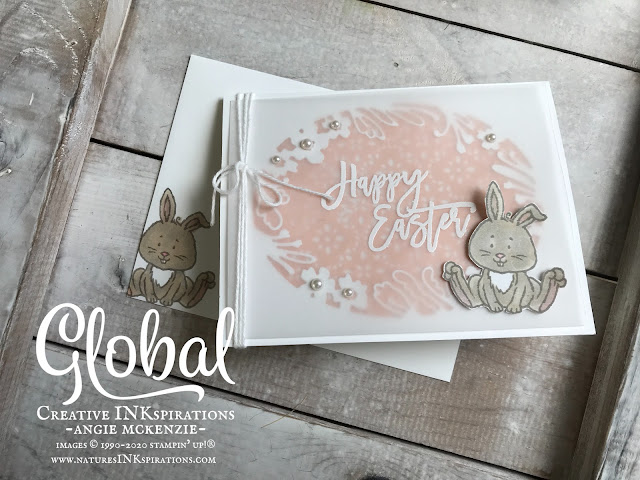
Create the horizontal card base with Thick Whisper White cardstock. Center the largest Petals Labels Die on a Whisper White cardstock layer that is the same size as the card front and run it through your embossing/cutting machine. Die cut a slightly smaller piece of Petal Pink Vellum Cardstock with the Stitched Lace Die. Stamp the sentiment onto Vellum Cardstock (same size as the Whisper White layer) by centering it over the Whisper White die cut layer and heat emboss with White Stampin' Emboss Powder on low heat. Adhere to the Petal Pink layer to the Whisper White layer with Tear & Tape Adhesive. Adhere the Vellum layer to the Petal Pink layer with Snail Adhesive strategically placed behind the sentiment. Wrap Whisper White Baker's Twine around the layers three times and tie off with a bow. Add pearls to fill the flower centers. Stamp the bunny two times in Gray Granite, color with Light Crumb Cake, Light Gray Granite and Light Flirty Flamingo Stampin' Blends Markers, fussy cut and adhere one to the card front with Mini Glue Dots. Blends Tip: Light Flirty Flamingo is blended with Light Crumb Cake to create a shade slightly darker than Petal Pink.
The inside is fun to create!
Create another horizontal card base with Whisper White cardbase measuring 5-1/4" by 8-1/4" and fold in half. CUTTING TIP: The inside card base is 1/4" less across the width and length of a standard size card base which will leave an 1/8" border when assembled.
On the scored side, make two small cuts of equal length.
Fold the section towards you and press down to score.
Return to original position and tuck that same section into the inside and press.
Open and see the "step".
CUTTING TIP: The width and length of the cuts is based on the size of the item that you are attaching as your 3D pop-up.
Color the background as you wish! I chose to make it a field of flowers with the sky in an oval backdrop resembling an egg... or the entrance to the tomb when the stone was rolled away.
Stamp the cross in Granny Apple Green onto scrap paper and then the card base.
Stamp the sentiment in Gray Granite.
Adhere the bunny with liquid glue allowing for wiggle room.
I hope that this has inspired you to get creative with the insides of your cards to bring smiles to the faces of the recipients. Now, let's pop over for some inspiration across the waters with Danielle! She has another fabulous idea for you... you'll be amazed, I'm sure.
Global Creative INKspirations Blog Hop
Angie McKenzie - US - YOU ARE HERE
Thanks for stopping by my little corner of the world!
Have a blessed day!
Do you love this project?
You can find the supply list to create it on your own at the bottom of this blog post.
I would love to be your Stampin' Up!® Demonstrator!
If you don't already have a demonstrator and need any stamping supplies, just click on the Shop picture at the top right side of my blog that goes directly to my online store. Or you can just drop me an email, if you have any questions. It would be such a pleasure to stamp with you!

About the April Kit
Subscribe by the 10th to receive.- Kit contains supplies for 8 cards and envelopes
- Card size: 4-1/4" x 5-1/2" (10.8 x 14 cm)
- Envelope size: 4-1/2" x 5-3/4" (11.4 x 14.6 cm)
Coordinating Colors: Crushed Curry, Early Expresso, Melon Mambo, Mint Macaron,
Pear Pizzazz, Shaded Spruce, and Soft Sea Foam
and you will receive one or more EXCLUSIVE PROJECT TUTORIALS for FREE!
Contact me for details!
- Visit my online store here.
- Shop the Clearance Rack here.
- Shop the January-June Mini Catalog here and see what FREE coordinating products you could possibly earn with SAB (Sale-A-Bration)!
- View the newest products available for Beginning Stampers here.
- Subscribe to Paper Pumpkin here.
- Earn FREE Stampin' Up! Products with my Nature's INK Points Reward Program - a special thank you program just for my online customers!
- Be a Nature's INKer with me! I love what I do and would be thrilled to have you on my team while creating, sharing and inspiring others together with you! Do you love creating projects for others? Do you love it all? Would you like to save money on your stamping and/or scrapbooking supplies? Yes?!? Click here for more info.
- Subscribe to my newsletter to get all the latest news and updates on what's happening and, do not worry, you can unsubscribe from it at any time - no questions asked!
- Follow my blog with Bloglovin.


Your card put a big smile on my face. Thank you so much! I love it!
ReplyDeleteI'm so glad!!! You made my day, Danielle! xx
Delete